You can create company-level filters to share and work on with other users on your account. Company filters will be visible for all users on the account after they are published by the user. This is a good to save the time when your team reviews multiple products.
Here are the steps you need to follow:
1- Go to “Channel>Channel Products” or “Inventory Products” and click “New Company Filter”.
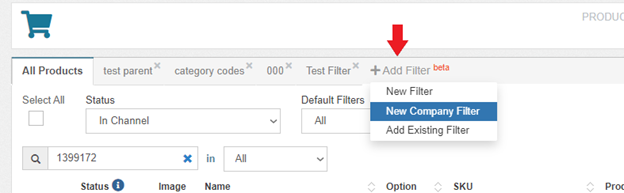
IMPORTANT NOTE: It doesn’t matter whether you have created a company filter on channel or inventory level. You can always add existing filters to channel or inventory level by clicking the “Add Existing Filter”.
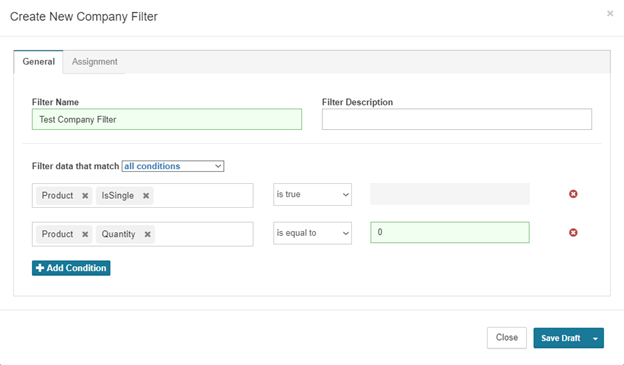
2- You need to enter a filter name, add fields from the “Add Conditions”.
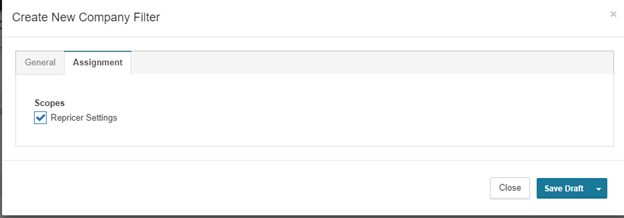
If you select “Repricer Settings” from the “Assignment” tab, you can use this filter on Repricer Settings. However, you need to enter repricer specific fields and conditions. This way you can formulate the prices for the products in that filter.
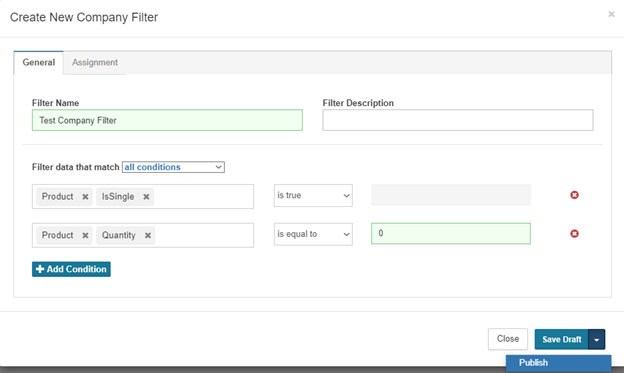
3- After configurations, you can either save draft or directly publish the filter.
You can always edit and change the company filter conditions from the “Edit Filter”.

If you want to remove a filter, you can click the “X” icon.
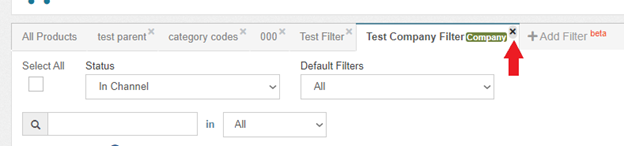
IMPORTANT NOTE: This action will only remove the filter from the level you have created but not delete completely. If you want to delete a filter completely, you need to go to the “Settings>Filters” tab and click the delete button for the selected filter.