SKU OVERRIDE
If you want to use different skus for different channels, you are able to do that with SAs sku override feature set at the channel level. By using this,you can keep the original sku in your inventory, and use new sku/s for the specific channel, which you will enter. You can add sku overrides to any type of item such as parent items, child items, single items skus, kit/bundle items.
There are 2 ways to enter a sku override.
- Individually, you can enter a sku override within the item in the channel level or;
- You can do this with bulk import for either single or multiple SKUs.
To do this individually, by editing a sku override for an item in channel level please follow these steps:
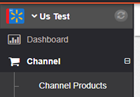
1. Switch to your channel and click channel products
2. Click edit (pen icon)

3. Scroll down and find SKU Override textbox

4. Enter the SKU override and click the Save & Close button.

5. After saving the new Sku for this item, you will see “Sku Override” label underneath the item.

To achieve this using Bulk Import, please follow these steps:
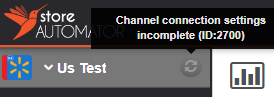
1. First of all, you need to know the channel ID number. To be able to see the channel number, you need to move your mouse on the sync button right next to the channel name and it will automatically show. You do not have to click the sync button to see this ID number, and please do not click this because it may cause a problem.
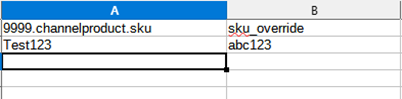
2. After you have the channel ID number, you will need to create a CSV file in the same format as shown in the screenshot below. You only need your XXXX.channelproduct.sku and sku_override (for xxxx, you will type the channel ID number).
You will add all the skus that you want to override under xxxx.channelproduct.sku (original skus will be in here) and under sku_override, you will type the new skus that you want to use for this specific channel.
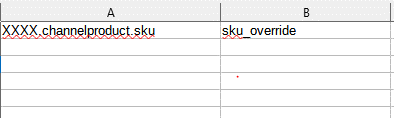
For example, if your channel id number is 9999 and you want to add a sku override for sku Test123. It will be as below which means that in this channel, for this item sku will be “abc123” instead of “Test123”.
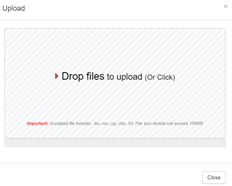
3. After you complete the csv file and save it, you will need to upload it by clicking THE arrow icon, which is in the top right corner, left of your name.

4. The box (see screenshot below) will pop up and you can either drag and drop your file or click it to find the file from your folders.
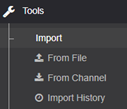
5. After uploading the file, you will close the box and you can follow the status of your import from the Tools dropdown. (Navigate to Tools>Import>Import History)